Rigging & Creature FX
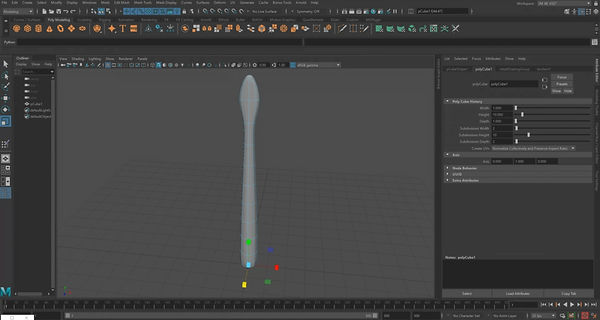
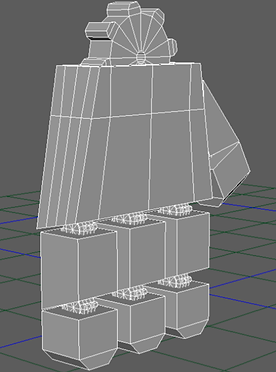
Tentacle
In week 1 of Rigging & Creature FX we had an introduction to the key concepts within rigging.
-Joint creation
-Skinning
-Control creation
To practice the concepts above we created a tentacle to demonstrate what we learnt and applied it to the tentacle.


- - - - - - - - - - - - - - - - - - - - - - - - - - - - - - - - - - - - - - - - - - - - - - - - - - - - - - - - - - - - - - - - - - - - - - - - - - - - - - - - - - - - -
Joint Creation - Robot
During this weeks lesson we continued on joint creation, moving joints and ensuring how to align the joints correctly parenting it to the mesh.


- - - - - - - - - - - - - - - - - - - - - - - - - - - - - - - - - - - - - - - - - - - - - - - - - - - - - - - - - - - - - - - - - - - - - - - - - - - - - - - - - - - - -
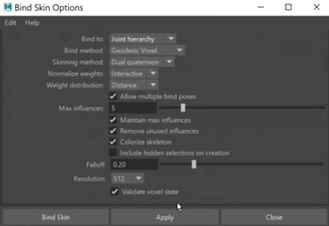
Skinning - Arm
During this weeks lesson we went in depth into skinning,


- - - - - - - - - - - - - - - - - - - - - - - - - - - - - - - - - - - - - - - - - - - - - - - - - - - - - - - - - - - - - - - - - - - - - - - - - - - - - - - - - - - - -
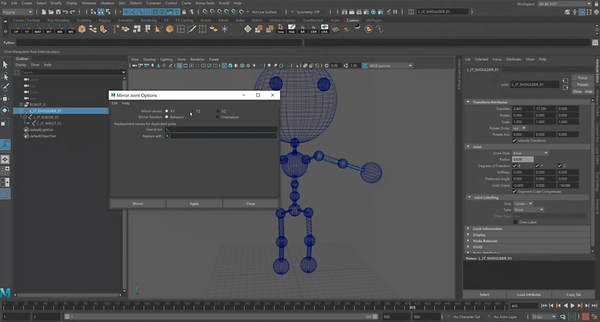
Rigging Controls Robot Pt 1
We were given a robot, which we created rigging controls to.


Rigging Controls Robot Pt 2


- - - - - - - - - - - - - - - - - - - - - - - - - - - - - - - - - - - - - - - - - - - - - - - - - - - - - - - - - - - - - - - - - - - - - - - - - - - - - - - - - - - - -
Hydraulics
This week we had a look into hydraulics in pistons & springs, and the mechanics of how they operated.


- - - - - - - - - - - - - - - - - - - - - - - - - - - - - - - - - - - - - - - - - - - - - - - - - - - - - - - - - - - - - - - - - - - - - - - - - - - - - - - - - - - - -
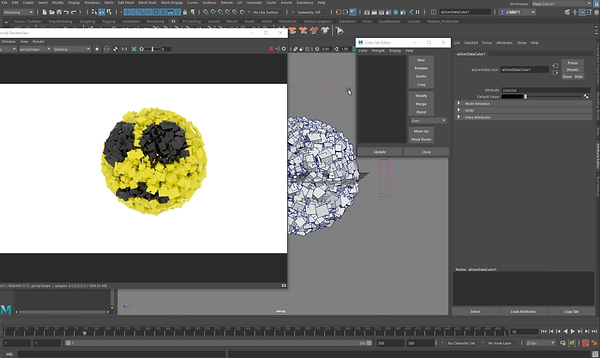
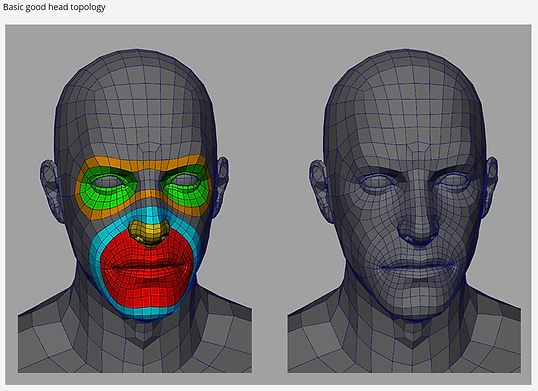
Topology
For this week we had a look into topology, going into depth seeing the difference between a good topology and bad.

- - - - - - - - - - - - - - - - - - - - - - - - - - - - - - - - - - - - - - - - - - - - - - - - - - - - - - - - - - - - - - - - - - - - - - - - - - - - - - - - - - - - -
Assignment 1- Mechanical Rig
For Assignment 1, the task was to create a rig for a mechanical figure demonstrating what was learnt throughout the weekly lessons. I decided to create a robot as I'd be able to show good use of techniques of rigging I learnt.
Modelling

I used a cylinder and a sphere to create the head using half of the sphere and a cylinder together. For the antenna I used an extrude of the top of the sphere head. For the eyes i used another cylinder and applied a extrude for the centre. For the pupil I used a sphere with light mesh, and to create the neck I used a cylinder.
To create the body and the waist I only used cylinders and extrudes making the roles in the centre. I used the same concept to create the shoulder as I used to create the head and body.


For the arm I used a cube that I cut and extruded at both ends, cutting it again in the middle to create the forearm.


To create the hand and fingers I used a cube but for the joints of the fingers I used some gears.
For the gears I started of a cylinder and extruded half of the lateral faces 2 times 1 for making the base of the gear tooth and the second for make a curvature.
The leg is only 2 cylinders with an extrude

For the knee I used the same concept with a half cylinder to create a type of mechanism to emulate a joint between the thigh and the leg.

For the feet I used three cubes that I cut twice times to look like a shoe.

Final Model
Rigging

Control Foot: I Put a Rotate Plane Solver IK in the leg more 2 single chain Iinks in the foot for control de leg. I used a poli vector constrain to give direction for the knee and the 2 single chain is for pre-set movements to the foot. I put the 3 IKs in groups and use the pivot to control the movement for the extra attributes in the control. The pivots are put above the joins and each one have a specific movement connection with a attribute in the foot control.

Control Waist: This control is used to move the upper part of the body using a parent constrain.
Control Body: This is used to twist the robot's waist with a parent constrain.

Control Head: Twist the head with a a parent constrain.
Control Eyes: These 3 are used for move the light from the eyes, and 1 to move both together. I used an aim constrain for the eyes.

Control Hand: I put a Rotate plane Solver IK in the arm and binded with a Pole Vector constrain with the Elbow control. I put the Ik in the Hand Ctrl and binded the hand joint with a rotate constrain for the Ik lose control to rotate of the hand.
Control Finger: I put a parent constrain in the first part of the finger and used connection editor. With a new attribute of the control to move the axis of the second part of the finger.

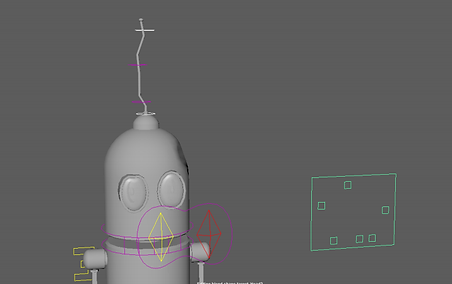
Control Antenna: Here I used a Spline Handle IK And Put Cluster in the curve to control the antenna of the robot.
Robot Rigging Video
Robot Rig


- - - - - - - - - - - - - - - - - - - - - - - - - - - - - - - - - - - - - - - - - - - - - - - - - - - - - - - - - - - - - - - - - - - - - - - - - - - - - - - - - - - - -
Assignment 2- Organic Rig
For assignment 2, the task was to further develop from what we did for assignment 1- Mechanical Rig. Demonstrating a range of techniques which have been taught in the second part of the course. A few of these techniques are:
-
Modelling for deformation.
-
Skinning and painting weights.
-
Blend shapes.
-
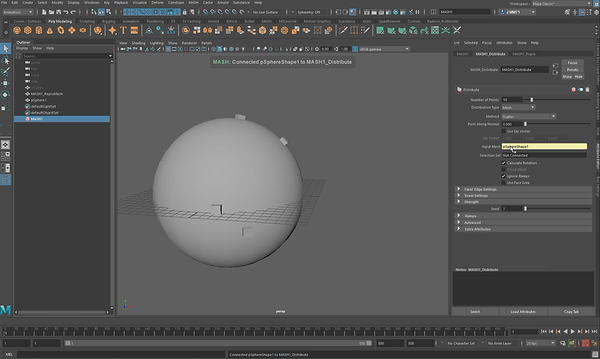
Mash elements added to a rig / applied to mocap from the Performance Animation Module.
-
Sub pivot controls for feet.
-
Custom Attributes.
-
Ik handles, Rotate plane solver and single chain solvers.
-
Squash and Stretch.
-
Fur.
-
Bifrost Graph.
Rendered Clips


I decided to carry on using the same model I created from assignment 1, I did a blend shape panel to control some facial expressions and deformations.
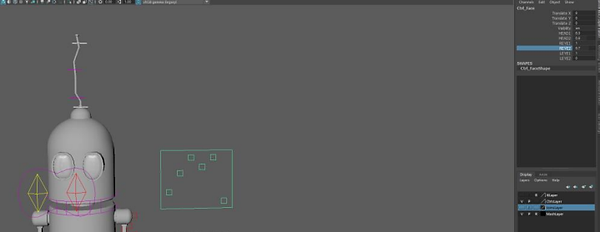
In the slider panel, I created 6 different attributes to control the expressions and deformations.

Inside the foot you have 3 Nulls for modify the pivot of movementation of the foot using 3 iks. A IK for the leg; One for the leg and the middle of the foot and more for the middle to the end of the foot. The leg is a rotate-plane solver ik who are with a poly vector with another control. And 2 single chain IKs for the middle and the end of the foot and have another rotate-plane ik for the arm.
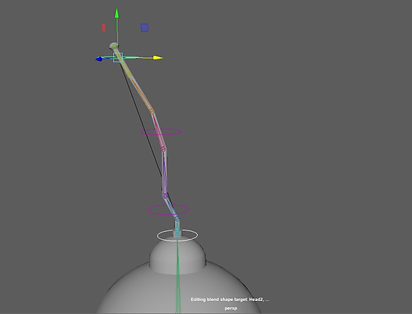
Iks plane for the antenna

For animation I added a ball with squash & stretch. Very similar from what I did for assignment 1 of Character Animation.
Speed Edit
