Environmental fx
Bullet Rigid Bodies


- - - - - - - - - - - - - - - - - - - - - - - - - - - - - - - - - - - - - - - - - - - - - - - - - - - - - - - - - - - - - - - - - - - - - - - - - - - - - - - - - - - - -
NCloth


- - - - - - - - - - - - - - - - - - - - - - - - - - - - - - - - - - - - - - - - - - - - - - - - - - - - - - - - - - - - - - - - - - - - - - - - - - - - - - - - - - - - -
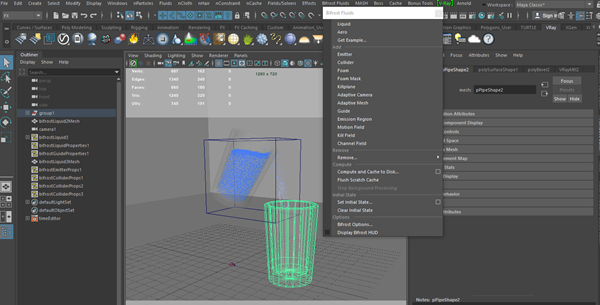
NParticles

- - - - - - - - - - - - - - - - - - - - - - - - - - - - - - - - - - - - - - - - - - - - - - - - - - - - - - - - - - - - - - - - - - - - - - - - - - - - - - - - - - - - -
For the first part of this assignment we had do demonstrate 'destruction' via physical dynamics using Autodesk Maya. The task was to create a short clip no more than 10 seconds long demonstrating destruction. For the second part of this assignment we had to demonstrate a draping or movement of fabric via cloth systems in Autodesk Maya. We also had to create a short clip no more than 10 seconds long demonstrating movement of fabric.


Below I've included a step by step breakdown of the whole process I took for task 1, destruction.

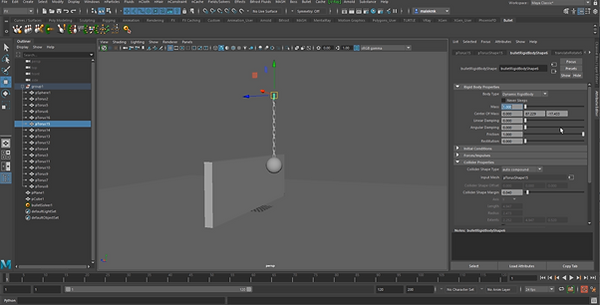
1) Started with a sphere and modelling chain which will be a cannon ball.

3) Modelling ball and chain together to create a cannon ball

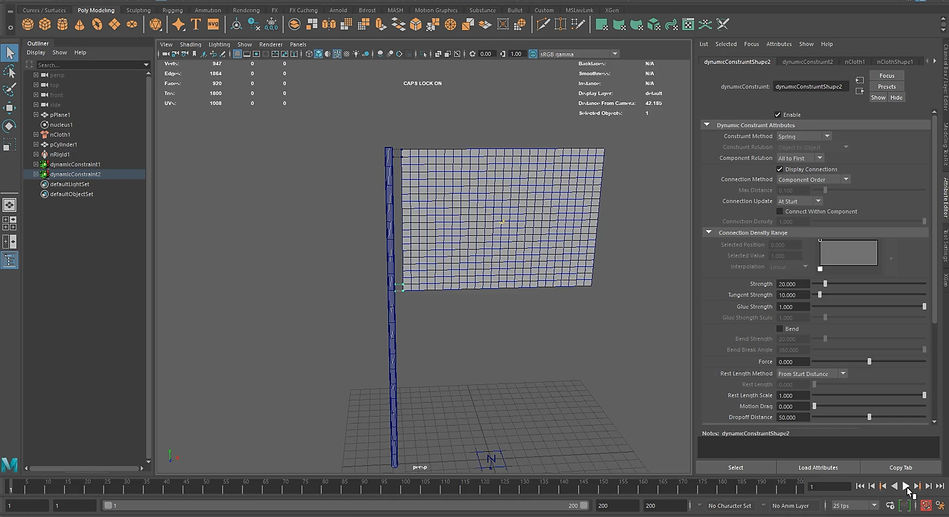
5) Creating a rigid body for the chain.

7) Creating the floor rigged body.

9) Applying the shatter on the wall.

11) Added the textures to the scene.

2) Modelling the chain

4) Creating a plane for the ground and a wall to destruct.
6) Creating the first chain on 0 mass allowing it to hold the chain in it's place.

8) Creating the shatter effect on the wall.

10) Playing the simulation to clarify everything is smooth.

12) Finally added the lighting and rendered.

Below I've included a step by step breakdown of the whole process I took for task 2, movement of fabric.

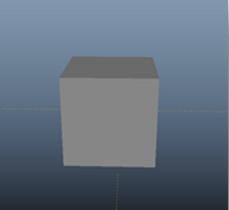
1) Started with adding a cube into the scene to create a room.

3) Then I created a window

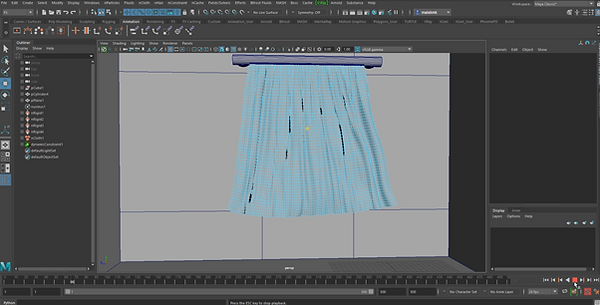
5) Created curtain nCloth.

7) Selected top vertex on the plane, and selected the cylinder.

9) Change (Rest Length Scale) parameter to 2, so we scale it up and get realistic wrinkles.

11) Applied materials

2) Then I removed a few faces to create walls.

4) Created walls nCloth passive collider.

6) Creating the cloth for the curtains.

8) Then make it (Point to Surface), to fix the top part of the curtain.

10) Deleted the lower part of the curtain as it was to long.
12) Created simulation

Below I've included a step by step breakdown of the whole process I took for task 1, destruction.

1) Started with a sphere and modelling chain which will be a cannon ball.
3) Modelling ball and chain together to create a cannon ball
5) Creating a rigid body for the chain.
7) Creating the floor rigged body.

9) Applying the shatter on the wall.
11) Added the textures to the scene.

2) Modelling the chain
4) Creating a plane for the ground and a wall to destruct.
6) Creating the first chain on 0 mass allowing it to hold the chain in it's place.
8) Creating the shatter effect on the wall.
10) Playing the simulation to clarify everything is smooth.
12) Finally added the lighting and rendered.
12) Finally added the lighting and rendered.

- - - - - - - - - - - - - - - - - - - - - - - - - - - - - - - - - - - - - - - - - - - - - - - - - - - - - - - - - - - - - - - - - - - - - - - - - - - - - - - - - - - - -
For this second assignment, we had to create three scenes with the following themes: Natural, Sci-Fi and Surreal. Using one or a combination of programs. I chose to use Autodesk Maya. The brief also instructed to show a minimum of 5 second clip; from one of the three scenes and at least two rendered stills for the other two scenes.


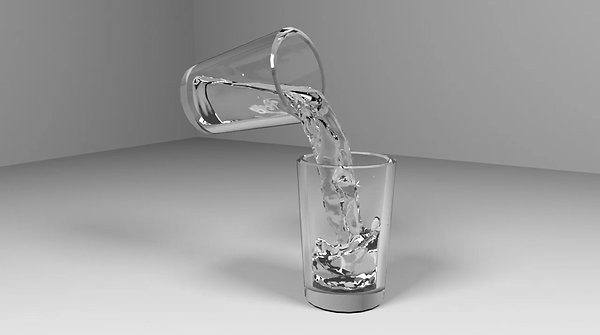


I modelled a glass cup

I then placed a 3D circle into the cup so I could create a liquid


I then added a collider effect

Added another cup to catch the water pouring out
Applied mesh to particulars
Added more particles

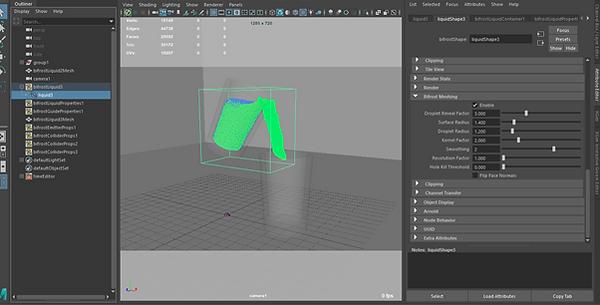
Added material with refraction, to achieve a transparent material

Added lighting

Then set up the scene to render


Opened content browser

I then thought I'd try something different and used the pen tool on my surface pro to draw a circle, on the paint effect for the galaxy

I drew more circles for the galaxy paint effect, and created more planets

Increased the size of galaxy size

Picked a preset galaxy paint effect

Then I began modelling some planets

Added textures to planets

Rendered


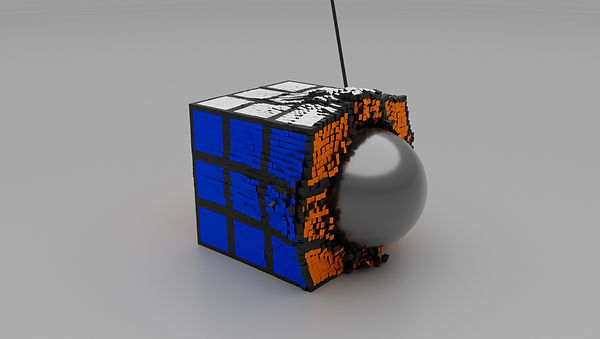


I began by creating a sphere for the cannon ball, and then creating a Mash network, then I added a transform node.


I then placed the sphere in my desired area, and added a dynamic node and adjusted the 'bounce' and 'mass'; and then selected 'constraint' on the dynamic mode tab.


I then chose spring type and then chose to connect offset point mode. I then began creating the rubix cube and applied a mash network.


Then I started to create all the square's on the cube. I then added a transform node, arranged the placement of the cube and added a dynamic node, and then textured the cube.
