Live Brief
Digital Matte Painting
To kick off the first week of Live Brief module we had a look at 'Digital Matte Paintings' (DMP). To simplify, DMP's are basically multiple images merged together to create a final image and looks as though it was taken via a camera. There's more to it than just merging images together for example it's handy to have a colour pallet, using it to set a colour contrast to your DMP.
Examples of Digital Matte Painting


Above I've added various examples of Digital Matte Paintings I found via Google images.
Image 1 (Mountain Inspired)
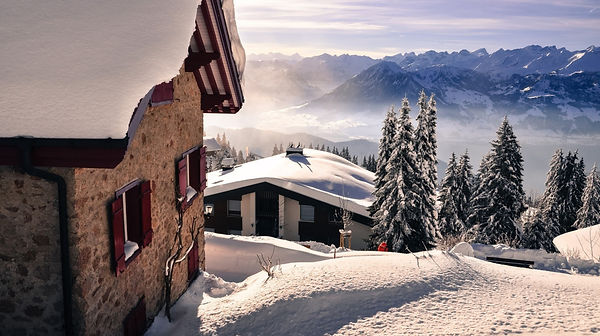


Breakdown
Below I rendered out the images from the .zip file we were given in class. I used the pen tool and began to draw around the section of the image I wanted to keep. Once I completed that I made a selection and added a feather radius of 2px; and created a clipping mask, which you can see gave me the results you see below.


Final Image

Image 2 (James Bond Skyfall Inspired)


Breakdown


Breakdown
Below I rendered out the images from the .zip file we were given in class. I used the pen tool and began to draw around the section of the image I wanted to keep. Once I completed that I made a selection and added a feather radius of 2px; and created a clipping mask, which you can see gave me the results you see below.


Attempt 1-
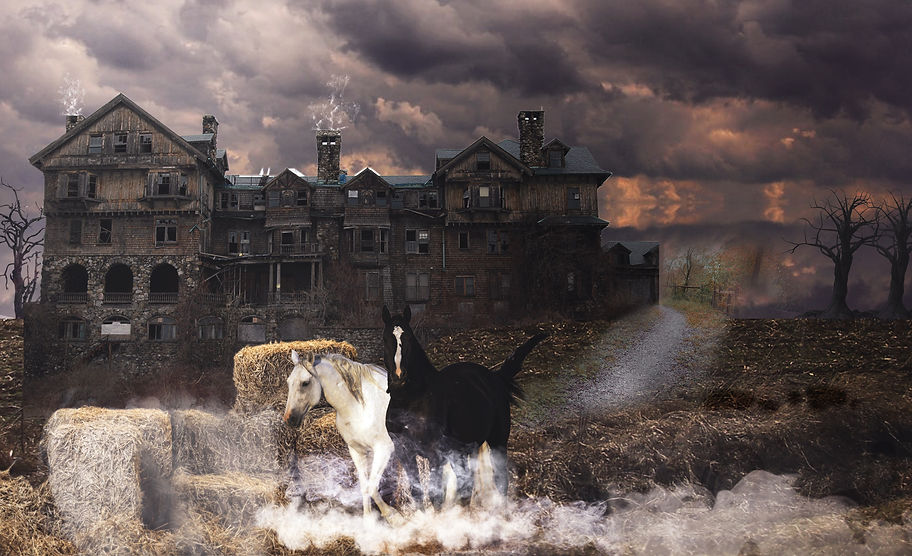
Below is the image DMP I created, however after receiving some feedback I decided to make some alterations because the house was to much of a focal point and the Aston Martin I placed in the scene wasn't really fitting in; so in order to improve this I scaled down the house and removed the Aston. Which gave the DMP a better flow in my eyes.
%20copy.jpg)
Final Image
%20copy.jpg)
We used colour pallets that were generated from the Adobe website. The reason a colour palette can be so helpful is because it can help artists create a colour scheme/flow within the image they are creating; below i've included a wide range of colour pallets I used to gain some inspiration (Didn't use all of them).


Image 3 (Savana Inspired)


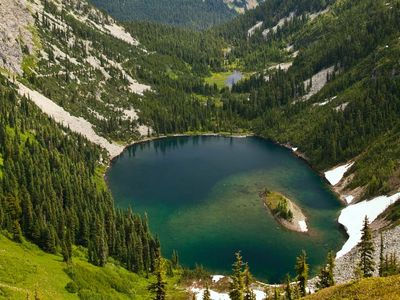
Above are a few images I found from google images that I thought would be a cool concept to combine the multiple images I found to create a 'Savana' inspired theme.

To Do List
1) Create Colour pallette using using Adobe- color.adobe.com (https://color.adobe.com/create/color-wheel)
2) Savana, Bladerunner
Final Image

Image 4 (Bladerunner Inspired)


Above are a few images I found from google images that I thought would be a cool concept to combine the multiple images I found to create a 'Savana' inspired theme.

To Do List
1) Create Colour pallette using using Adobe- color.adobe.com (https://color.adobe.com/create/color-wheel)
2) Savana, Bladerunner
Final Image

For this brief the whole concept was Disney's famous award winning film called 'Wall-E'. The task was to recreate a Wall-E themed scene from scratch individually or within groups of 3; I chose to work in a group with Adrian & Mansur . Below I put together a mood board of similar concept images to something we were aiming to achieve.
GROUP TASK BREAKDOWN
Jaber Imran- Modelling of Plane/Aircraft via Autodesk Maya
Adrian Lemaitre- Bridge & Ground creation via Autodesk Maya
Mansur Muhammad- Background scenery & Buildings via Autodesk Maya


The image to the left was imported into Adobe Photoshop and manipulated to look like something we were aiming to achieve for this project.


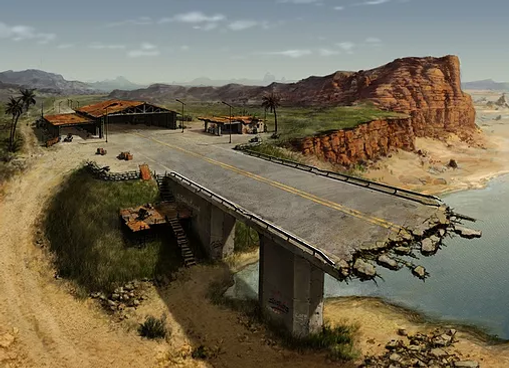


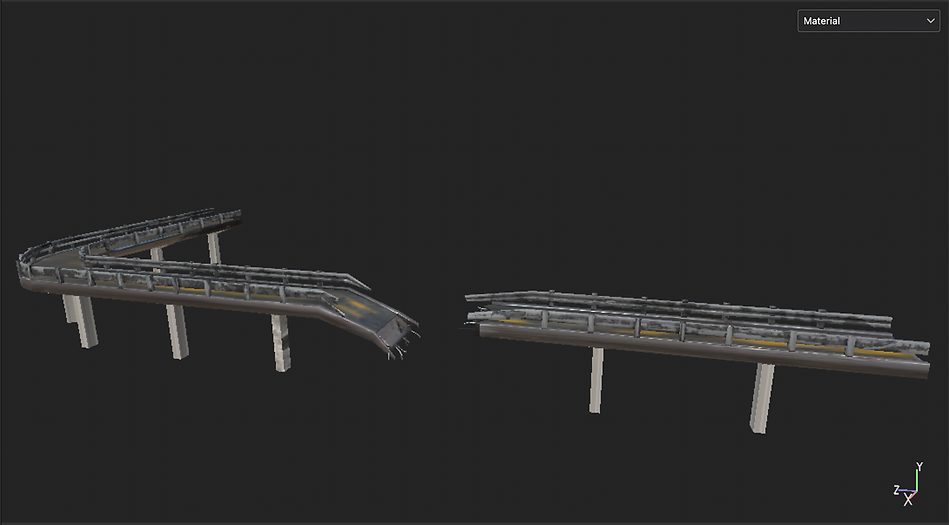
Bridge modelled in Maya

Bridge textured in Substance Painter
Ground Implementation

Building created by Mansur

Scene Background Image

Below I've included a step by step breakdown of the whole process I took for this Wall-E brief. I used various Youtube videos to help me model this helicopter, I then used Substance Painter & Photoshop to texture the helicopter; and finally applied the textures within Maya.

1) Modelled this helicopter


2) I then began rendering UV map, so I'd be able to use it within Photoshop
3) I then opened the UV map in PS.

4) Using the tools within PS I then began painting on the texture using UV Map.

6) I then applied the texture I created within PS to the model in Substance Painter.

8) Creating dirt material

5) I then opened up the model within substance painter.

7) I then followed various tutorials I found on YouTube to help create a 'dirt' material so it would fit the scene.

9) I then exported PBR textures from Substance Painter.
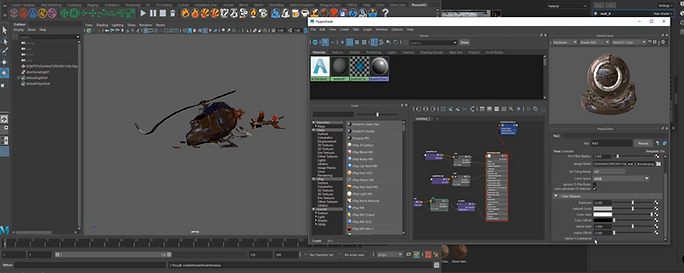
10) Finally I applied the textures within Maya.


Unfortunately my laptop crashed as I was recording the modelling process of the helicopter causing the footage to be be lost.

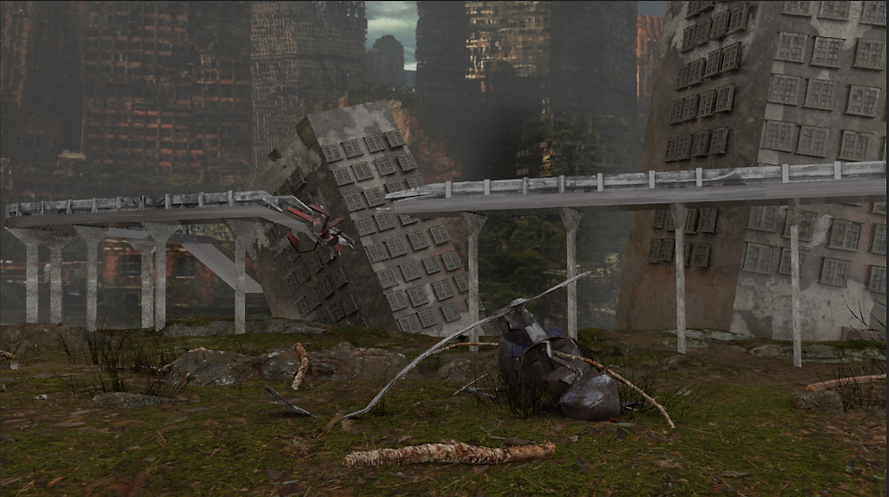
FEEDBACK
-
Subtle camera movement
-
VFX elements added into scene. i.e- sparks, smoke
-
Lighting. i.e- Directional light to create shadows and contrast

For this brief the task was to create a Christmas ad. I was working in a group with Adrian & Mansur . Below I put together a mood board of similar concept images to something we were aiming to achieve.
GROUP TASK BREAKDOWN
Jaber Imran- Modelling of Sofa via Autodesk Maya
Adrian Lemaitre- Matte painting of snow BG, wall and room texture via Autodesk Maya
Mansur Muhammad- Christmas tree, Santa hat and table via Autodesk Maya
Christmas advert Ideas


Concept of something we we're looking to achieve

Room Creation

Room Texture

New Window


Snowman Creation


Scene Background

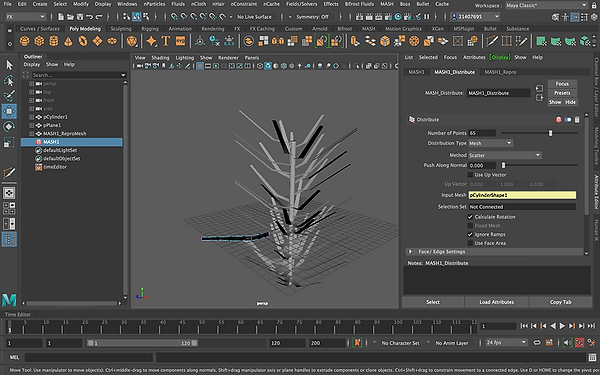

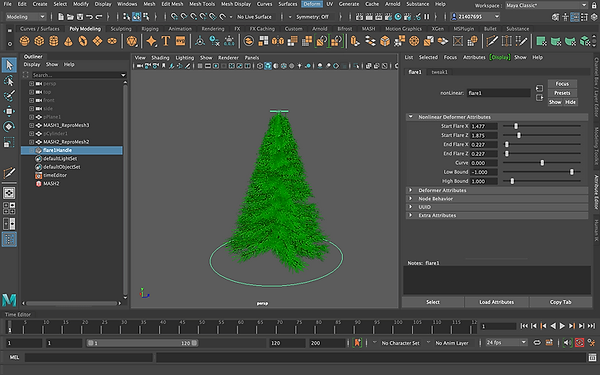


Presents Creation


Below I've included a breakdown of the whole process I took of the modelling for the sofa. I used various Youtube tutorial videos to help me model this sofa. As I had Covid 19 I was given a simple modelling task for this brief.


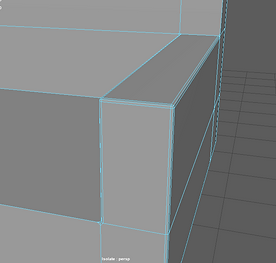


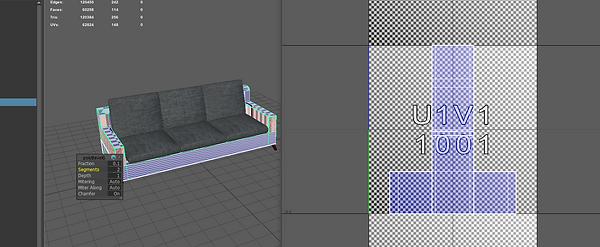


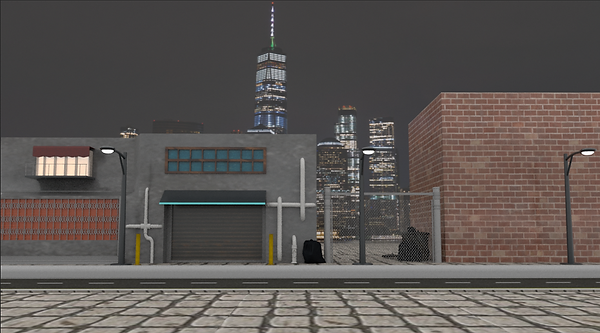
I worked in a group with Adrian & Mansur, we chose to create a urban street scene. Below I put together a mood board of similar concept images to something we were aiming to achieve.
GROUP TASK BREAKDOWN
Jaber Imran- Modelling Neon Sign, Animation & Texturing via Autodesk Maya/Substance Painter/After Effects
Adrian Lemaitre- Modelled Garage, Building via Autodesk Maya
Mansur Muhammad- Modelled Street, Space-ship via Autodesk Maya
Urban Street Ideas


Building models


Lamp-post model

Render of buildings w/ textures applied in Substance Painter


Imported building model into Substance Painter
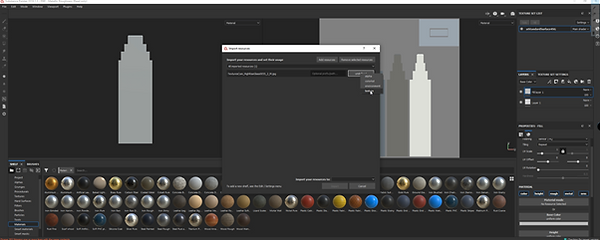

Imported glass layer
Baked Mesh

Added dirt generator

Added Fill Layers


Applied texture on base colour
Added layer with mask

Exported Texture
Street garage model


Rendered Model of Gate
Garage Rendered Model

Created Plane


Added texture map to material

Converted poly edges to curve
Adding emission weight to create neon light onto material

Applied Ai Standard material


Added Text

Extruded curves to tube

Render
Neon 'Repair Shop' Render

Created a camera and then set keyframe at 0/1


I then selected the spaceship and moved it within the scene to the desired area and then set a keyframe


I then selected the camera on the 90th frame and made the camera move, then once I was happy with everything I rendered the video.

I continued to move around the spaceship within the scene carefully selecting the area I wanted it to move towards giving it as natural movement as possible


