The Composite
Introduction to Nuke
To begin The Composite module we were taught the basics of Nuke from controls to nodes; we then started with a colour wheel image; and practiced using nodes to create some simple animations.
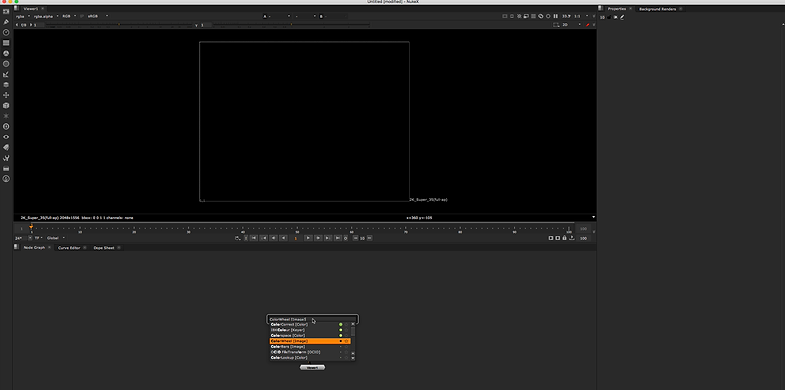


Imported the Colour Wheel node into Nuke

Once the colour wheel node was imported into the view I attached it to 'viewer 1' by dragging the arrow from the colour wheel node to the viewer. Once the viewer node was attached to the colour wheel node it was then displayed on the view as shown above.

Video showing the various types of nodes that can be used
Video of the colour wheel, with blur node and keyframes set

In the image to the left it shows, key concepts within Nuke such as:-
-
Nodes
-
Lines (Data Flows)
-
Can be ‘Images’ (RGBA)
-
3D Data (Position, Animation)
-
Render Data (Normals, Occlusion)

To the left are some commonly used nodes
-
2D (image) nodes have square edges
-
3D Nodes have rounded edges
-
Colour coded
-
But you can override this
-
These are the most common nodes used to achieve 90% of compositing
-
But many, many others are available

Overview within Nuke

Organization
-
All nodes can be renamed
-
Most have a ‘Node’ Tab with space for comments
-
Shortcut [/] will search the script for any supplied text
-
Use backdrops to section out ‘tasks’
-
Colour code
-
Label
-
Neat flow lines
-
Use ‘dots’
- - - - - - - - - - - - - - - - - - - - - - - - - - - - - - - - - - - - - - - - - - - - - - - - - - - - - - - - - - - - - - - - - - - - - - - - - - - - - - - - - - - - -

For the first exercise, I used the Bezier tool to go around one of the sweets and added a blur node
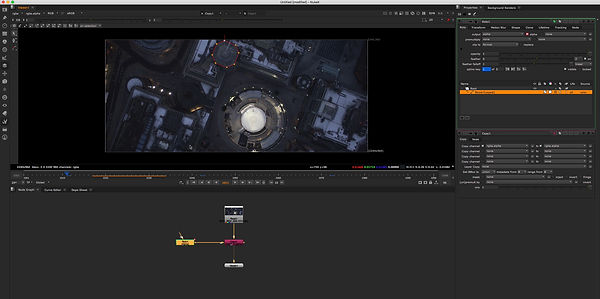
The screenshot above shows the finished roto, I created the shape using the Bezier tool

Video above showing the roto w/ all the nodes

In this screenshot I added a grade node and changed the colour, unfortunately I left the colour on yellow so you can't really tell there is a grade node.

The screenshot above shows me picking a colour for the grade node

Video above showing the tracking of the roto, without the background and I also used the grade node to change the colour of the roto. I keyframed the grade to change it to different colours.
- - - - - - - - - - - - - - - - - - - - - - - - - - - - - - - - - - - - - - - - - - - - - - - - - - - - - - - - - - - - - - - - - - - - - - - - - - - - - - - - - - - - -
Week 3 we continued to work with rotoscoping. We practiced rotoscoping Tim's hand, starting with the thumb then the index finger.

Image above shows the platte before any rotoscoping

Image above shows completed roto of Tim's thumb

Video above shows me rotoscoping Tim's thumb using the bezier and B-Spline tool


Above shows a screenshot and video of the rotoscoped index finger
- - - - - - - - - - - - - - - - - - - - - - - - - - - - - - - - - - - - - - - - - - - - - - - - - - - - - - - - - - - - - - - - - - - - - - - - - - - - - - - - - - - - -
Tracking
In this weeks lesson we learnt how to track footage. We began with a simple task; the class was given a comp and we added a tracker over some text so it wasn't visible anymore.

Clip above pre tracking

Clip above post tracking
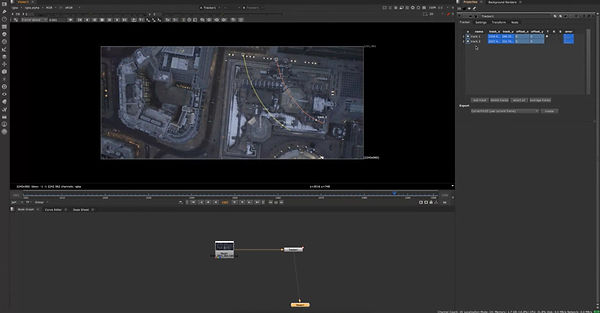
For the second exercise we tracked a roof; this was more challenging as the footage was rotating when it moved. However this was resolved by the use of two trackers and turning on a rotation option on both the trackers.


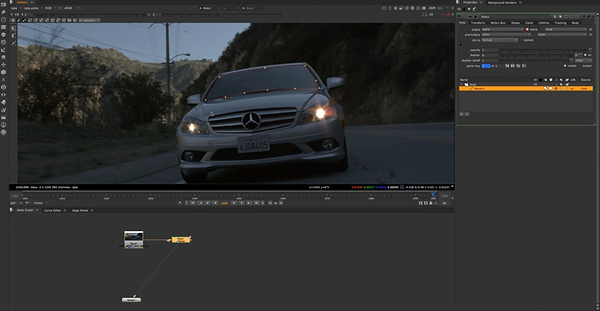
We then worked on the final exercise for tracking, the task was to rotoscope out the windshield of a Mercades-Benz car and using a planar tracking to get the fundamental track of the car. Then baked it, created corner 2D node, then added another roto for the windshield; and then added a corner pin node for the new rotoscope. I also added a grade node so the part I roto'ed was visible.




- - - - - - - - - - - - - - - - - - - - - - - - - - - - - - - - - - - - - - - - - - - - - - - - - - - - - - - - - - - - - - - - - - - - - - - - - - - - - - - - - - - - -
Cleanup & Patch Repair
In this weeks lesson we learned how to use the clone tool and removing different sections using the clone tool. We began by using various techniques to remove markers from a green screen, then we moved onto removing people from the composition we were working on.


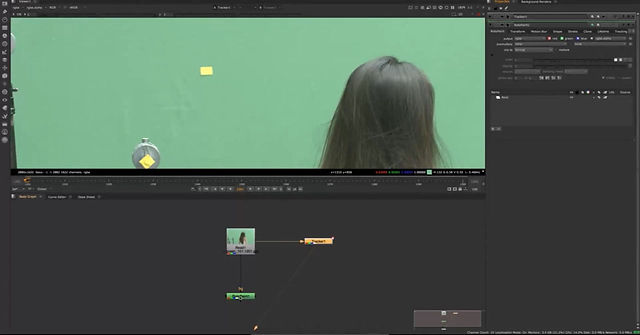
We then moved onto the next exercise, the task was to remove a man from the footage we were given. I used a tracker node and tracked each step to get smooth movement and then used a framehold node on a hero frame. I used a framehold node so the man was out of the shot. Then created a rotoscope rectangle around the man on the frame hold also adding a blue node to make it look one. I then added a premult to finish and a multiply node so when the ladies walked where the man was they wouldn't be a layer behind and disappear.


- - - - - - - - - - - - - - - - - - - - - - - - - - - - - - - - - - - - - - - - - - - - - - - - - - - - - - - - - - - - - - - - - - - - - - - - - - - - - - - - - - - - -
Advanced Clean Up
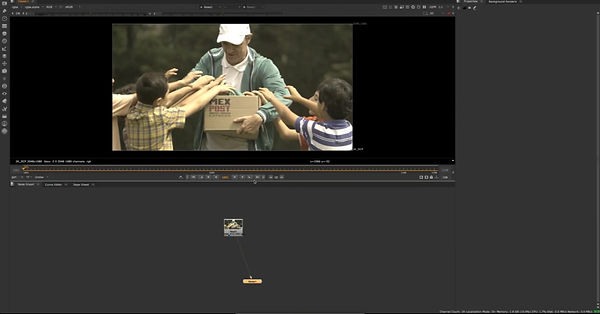
In this weeks lesson the task was to remove a label from a box, using a few techniques we've learnt from previous weeks as well as using a vector based node called rotopaint; and then added in a shadow for the arm.



- - - - - - - - - - - - - - - - - - - - - - - - - - - - - - - - - - - - - - - - - - - - - - - - - - - - - - - - - - - - - - - - - - - - - - - - - - - - - - - - - - - - -
Assessment 1- Class Task
For the first assignment for The Composite, the task was to perform a set of tasks to a clip that was given.
I've mentioned the tasks in bullet points below:
-
Change green screen to a blue screen
-
Remove logo from the black bag Tim is carrying
-
Remove pink random lettering
-
Change what's on the TV screen
-
Roto Tim, so when he walks past the screen you can still see what's on the TV.

Final Outcome

Video we were given to edit within Nuke

Sample video of how the final outcome should look like
Breakdown

I began by importing the sequence of images into Nuke, then began changing the BG changing the greenscreen to bluescreen by creating a <keylight> node

Then I tracked the bag by using a <tracker> node and then merged the clean plate with the footage.

Then merged second clean plate with original footage.

I then inserted <backdrop> nodes to understand all nodes.

I then created a Clean Plate of the bag so I could remove the logo from it

I created another clean plate for Track Points and TV

Then I revealed everything with rotoscope which was overlapping with Tim

Showing the backdrop nodes ^